
My Medovik Russian Honey Cake is made with 8 thin honey cake layers, a light sour cream frosting, and a simple crumb coating made from the baked scraps. The layers are crisp when they come out of the oven, then soften overnight as they soak up the frosting.
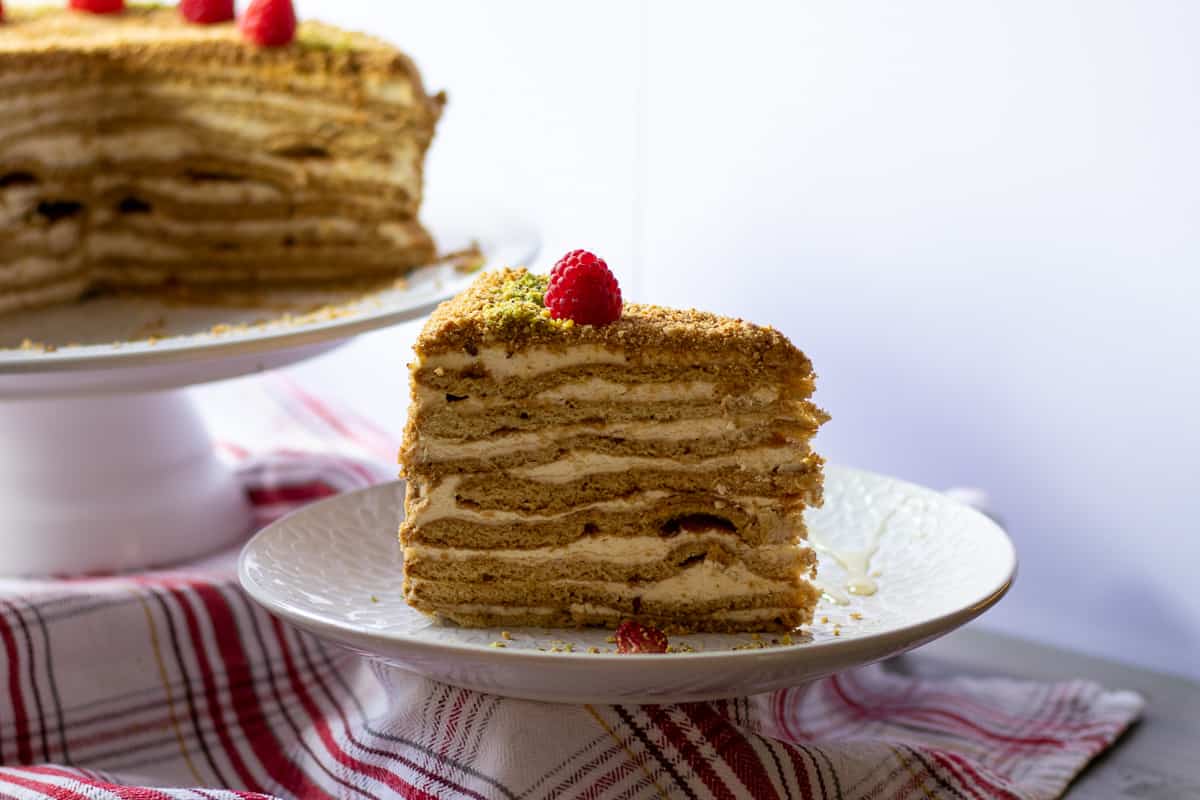
It takes a little time to roll and bake each layer, but the recipe is simple to follow and can be made ahead for birthdays, Christmas, or family gatherings.
This is not a quick one-bowl cake, but it is very manageable if you work step by step. The dough comes together in a saucepan, the layers bake in just a few minutes, and the frosting is made with sour cream, heavy cream, powdered sugar, and vanilla. Once assembled, the cake needs to rest in the refrigerator overnight, which makes it a great dessert to prepare the day before you need it.
Jump to:
Medovik has a lovely honey flavor without being too sweet. The sour cream frosting keeps it light, tangy, and soft once the cake has had time to sit. It is a lovely dessert to serve after a special meal, alongside other make-ahead desserts like Eclair Cake, Classic Italian Tiramisu, or Soğuk Baklava - Cold Baklava with Milk.
What Is Medovik?
Medovik is a Russian honey cake made with 8 thin honey-flavored cake layers and a creamy filling. It is popular in Russia, Ukraine, Moldova, and many other countries from the former Soviet Union.
The cake layers are rolled thin and baked until golden. They are firm and crisp at first, more like soft honey biscuits than sponge cake. Once the cake is layered with sour cream frosting and left to rest, the layers soften and turn tender.
Most Medovik recipes are finished with fine crumbs made from the leftover cake scraps. The crumbs are pressed over the top and sides of the cake to give Medovik its classic finish without any fancy decorating.
Why This Recipe Works?
- The dough is made in a saucepan, without keeping it over a water bath for a long time, which makes the process more manageable.
- The sour cream frosting is light, tangy, and not too sweet.
- You can bake the cake layers up to 5 days ahead and assemble the cake later.
- The baked scraps are turned into fine crumbs for the outside, so the cake looks finished without needing piping or extra decoration.
- Tort Medovik is best made ahead, which makes it useful for birthdays, holidays, and family gatherings.
- Leftover slices freeze well when wrapped properly.
- The cake layers bake quickly, usually in 4 to 5 minutes each.
Ingredients You'll Need
Please scroll down to the recipe card below for the full ingredients list with measurements, complete recipe method, recipe notes, and nutritional information.
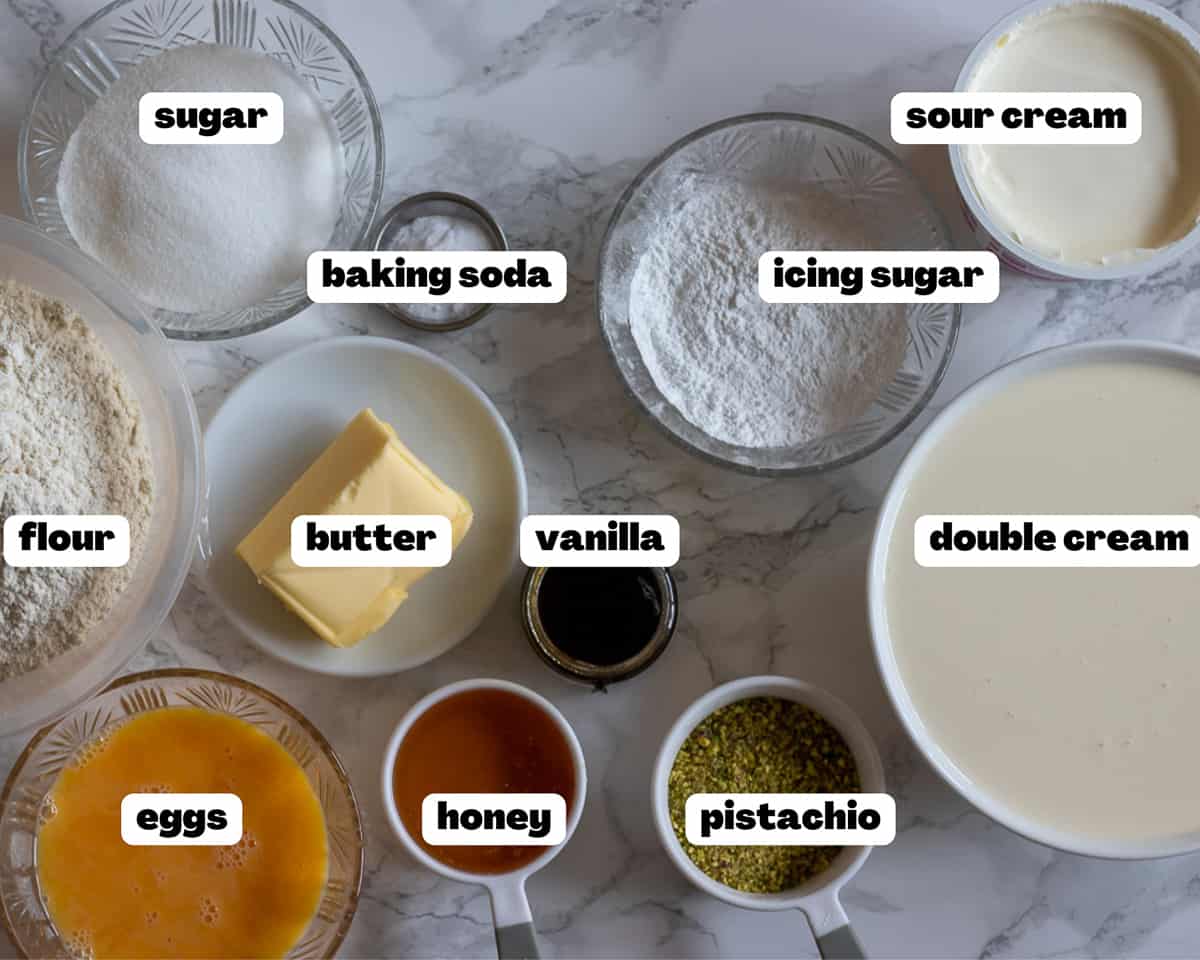
- Honey - It gives Medovik its main flavor. Use a honey you enjoy eating, as the flavor comes through in the cake layers. Mild honey works best if you want a softer flavor.
- Sugar - I use caster sugar for making the dough. You can also use granulated sugar for this recipe.
- Eggs - Use large eggs at room temperature. Add them slowly to the warm honey mixture and whisk constantly so they don’t scramble.
- Butter - Butter adds flavor and helps the dough come together. Use unsalted butter so you can control the taste.
- Flour - All-purpose flour (plain flour in the UK) gives the dough structure. Add it after the warm mixture has cooled slightly, then fold until you have a soft, slightly sticky dough.
- Sour cream - It is the main ingredient in the frosting that gives the cake its tangy flavor and helps soften the layers overnight.
- Heavy Cream - Also known as double cream. It is whipped and folded into the sour cream mixture to make the frosting lighter.
- Vanilla - I use organic vanilla bean paste or vanilla extract for a deep and delicious vanilla flavor. Avoid using artificial vanilla for this recipe.
How to Make
Medovik takes time, but the steps are not difficult. The most important part is to roll the layers thinly and let the assembled cake rest overnight. That resting time is what turns the crisp layers into a soft honey cake.
Prepare the Honey Cake Dough
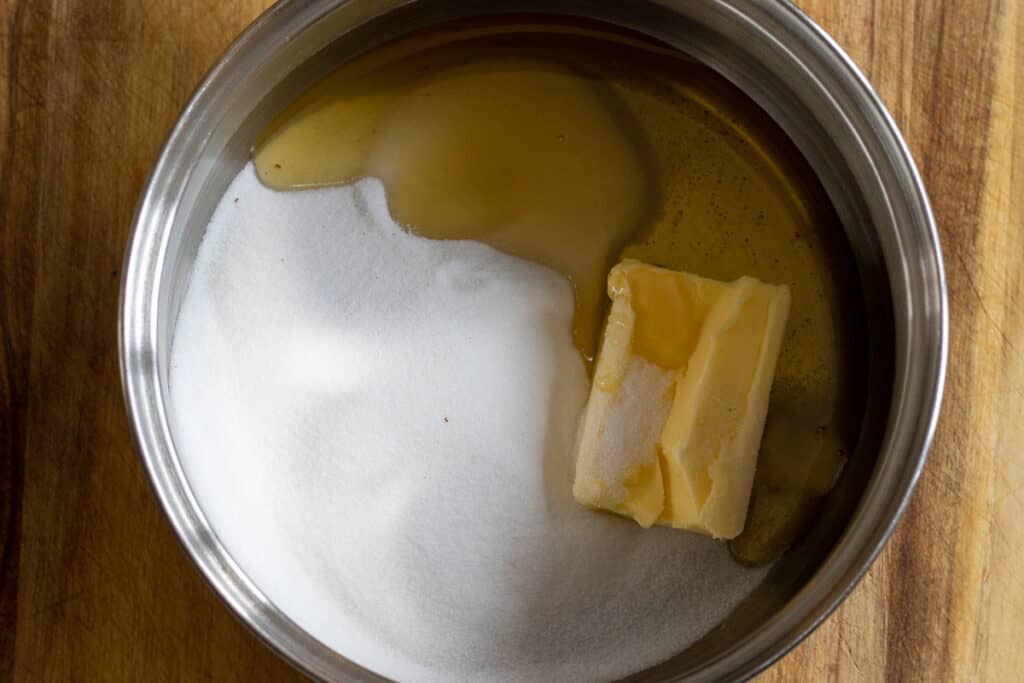
Preheat the oven to 355°F / 180°C. Line large baking sheets with parchment paper. Place the honey, sugar, and butter in a large saucepan. Warm them over low heat, stirring now and again, until the butter melts and the mixture is smooth. This should take about 5 minutes.
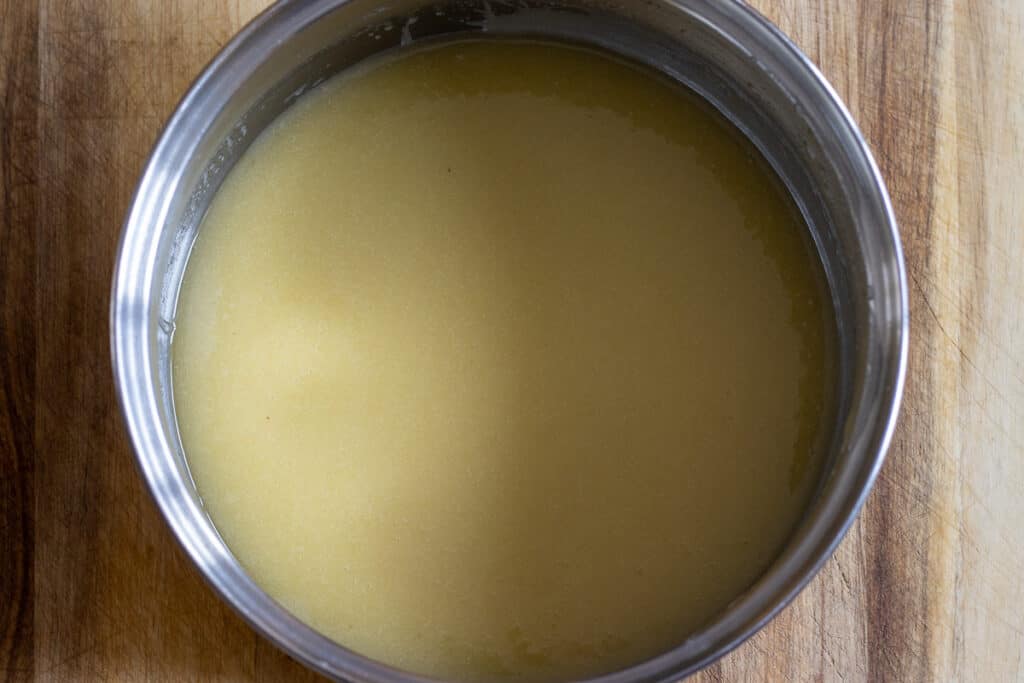
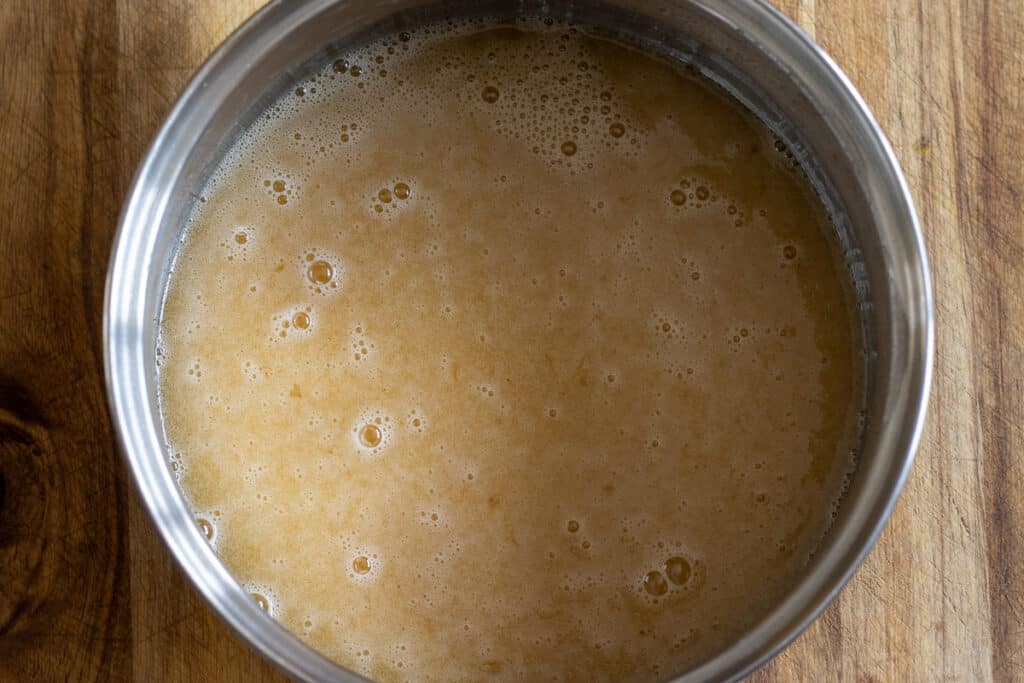
Remove the pan from the heat and let the mixture cool for a few minutes. It should still be warm, but not hot enough to cook the eggs. Add the eggs a little at a time, whisking constantly as you pour. Take your time with this step. If the honey mixture is too hot or the eggs are added too quickly, they can scramble. Stir in the vanilla and baking soda. The mixture may foam slightly, which is normal. Add the sifted flour.
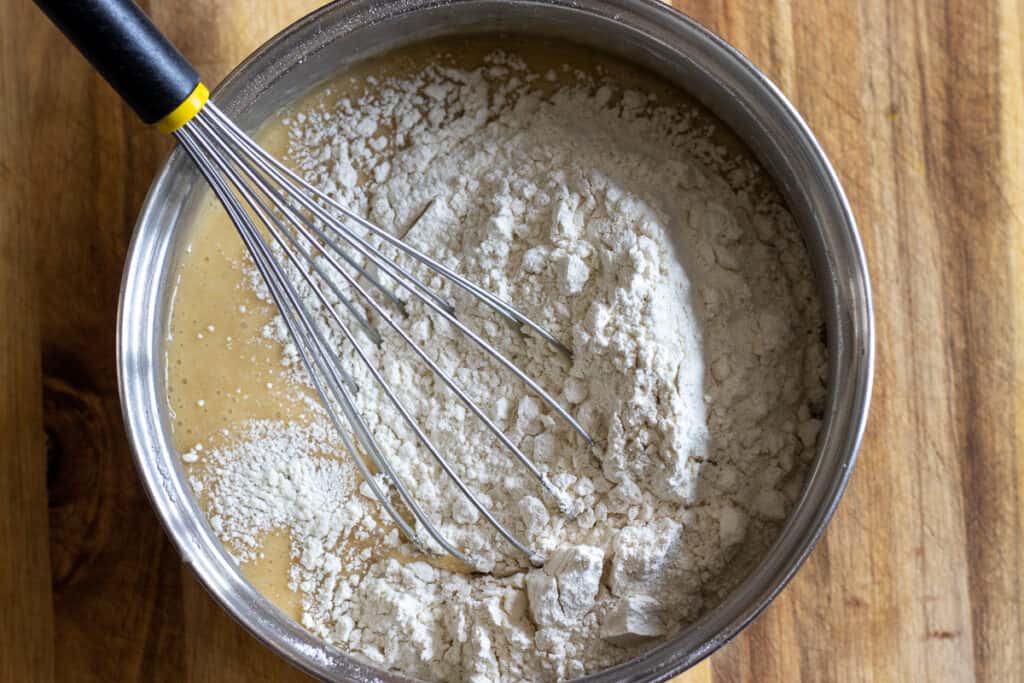
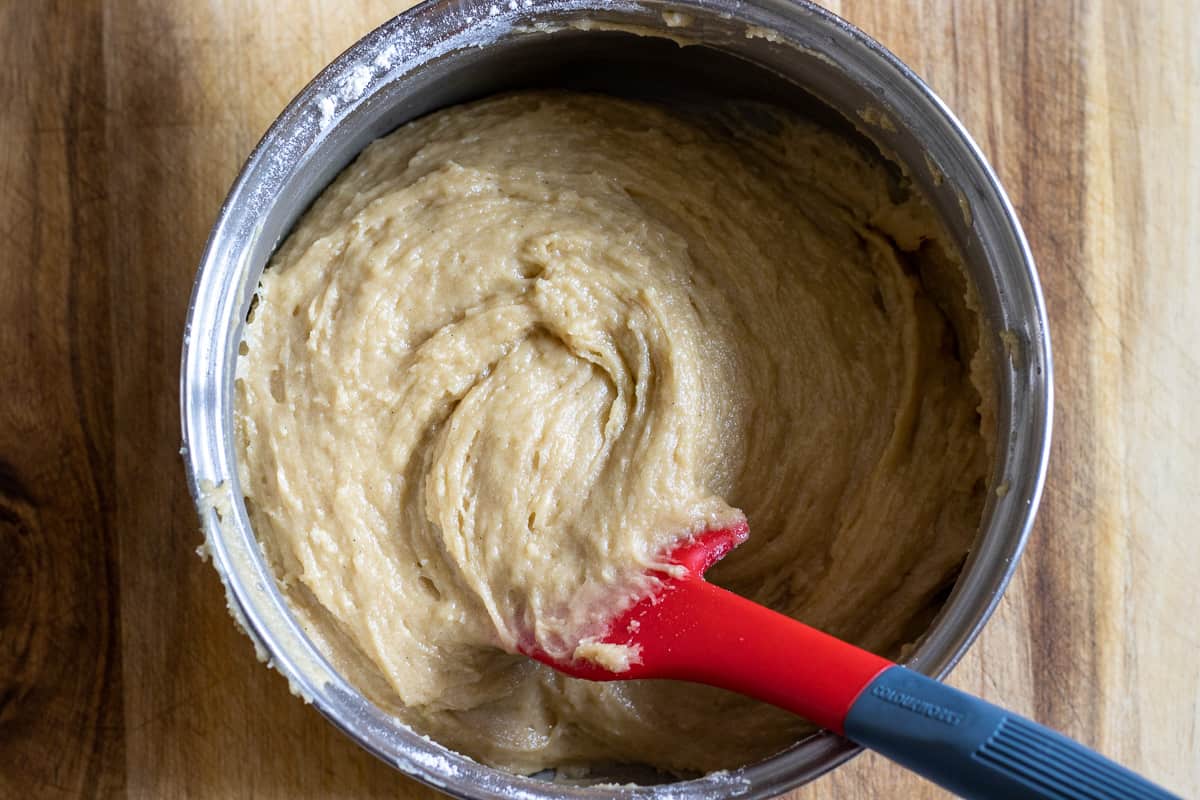
Fold the flour in with a spatula until you have a soft, slightly sticky dough. Do not add too much extra flour at this stage. The dough firms up a little as it rests and cools.
Bake the Cake Layers
Divide the dough into 8 equal pieces. Lightly flour your work surface and roll one piece of dough into a thin 9-inch / 23 cm circle. Use the base of a cake pan or a plate as a guide, then trim around it with a small knife.
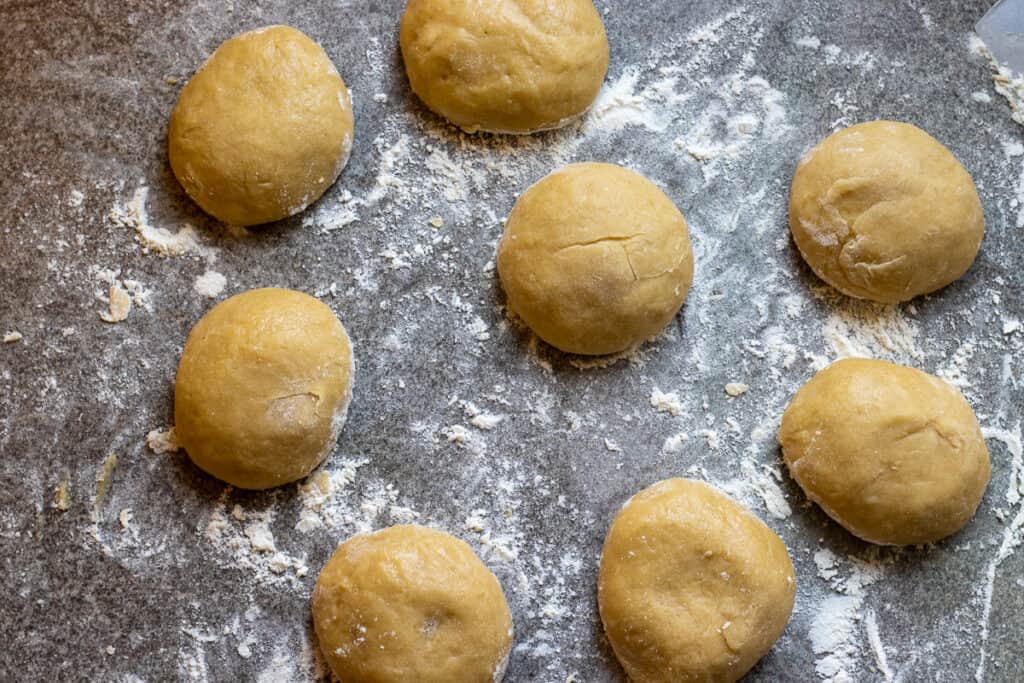
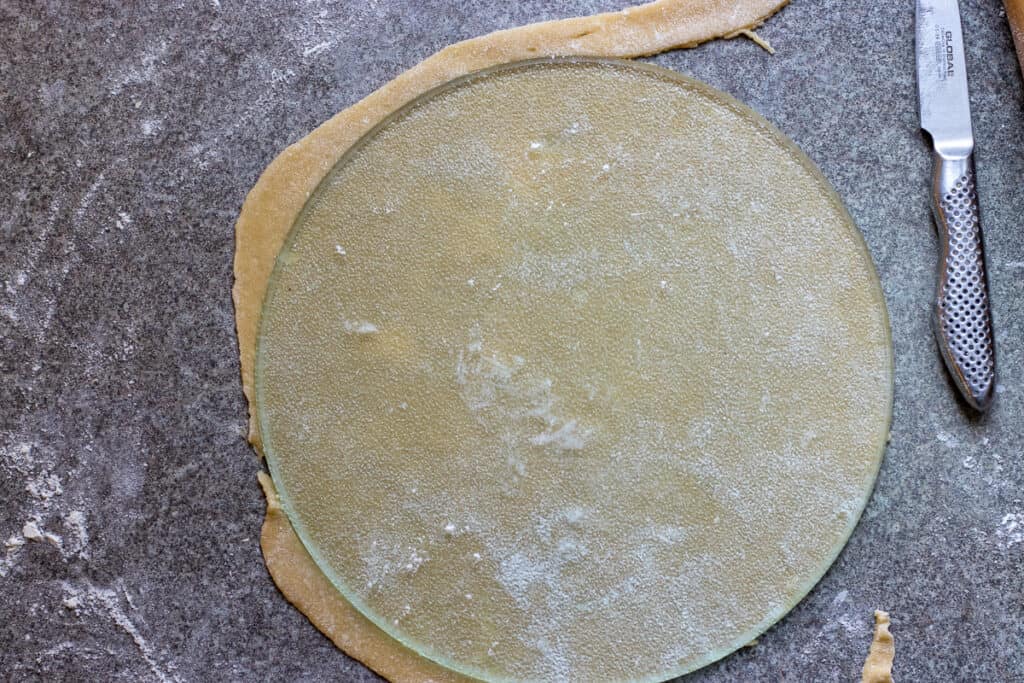
Repeat with a second dough ball, then transfer both dough circles to a lined baking sheet. Bake the cake layers for 4 to 5 minutes, or until golden. The layers bake quickly, so keep an eye on them. They should be golden, not dark brown.
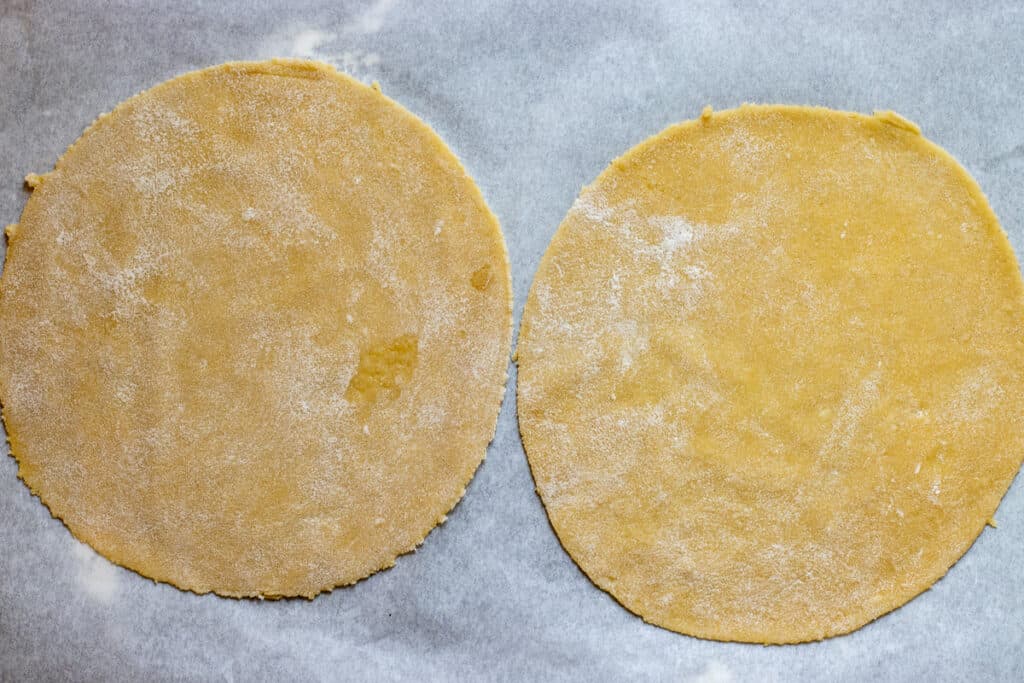
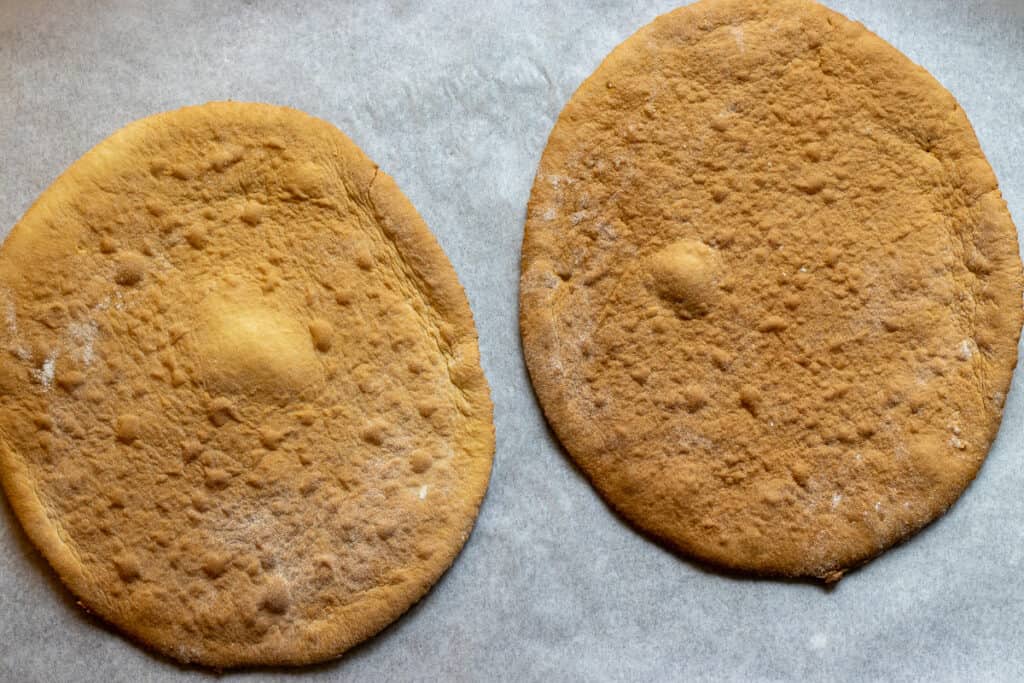
Transfer the baked layers to a wire rack to cool. Repeat with the remaining dough balls, rolling the next 2 layers while the first ones are baking to save time.
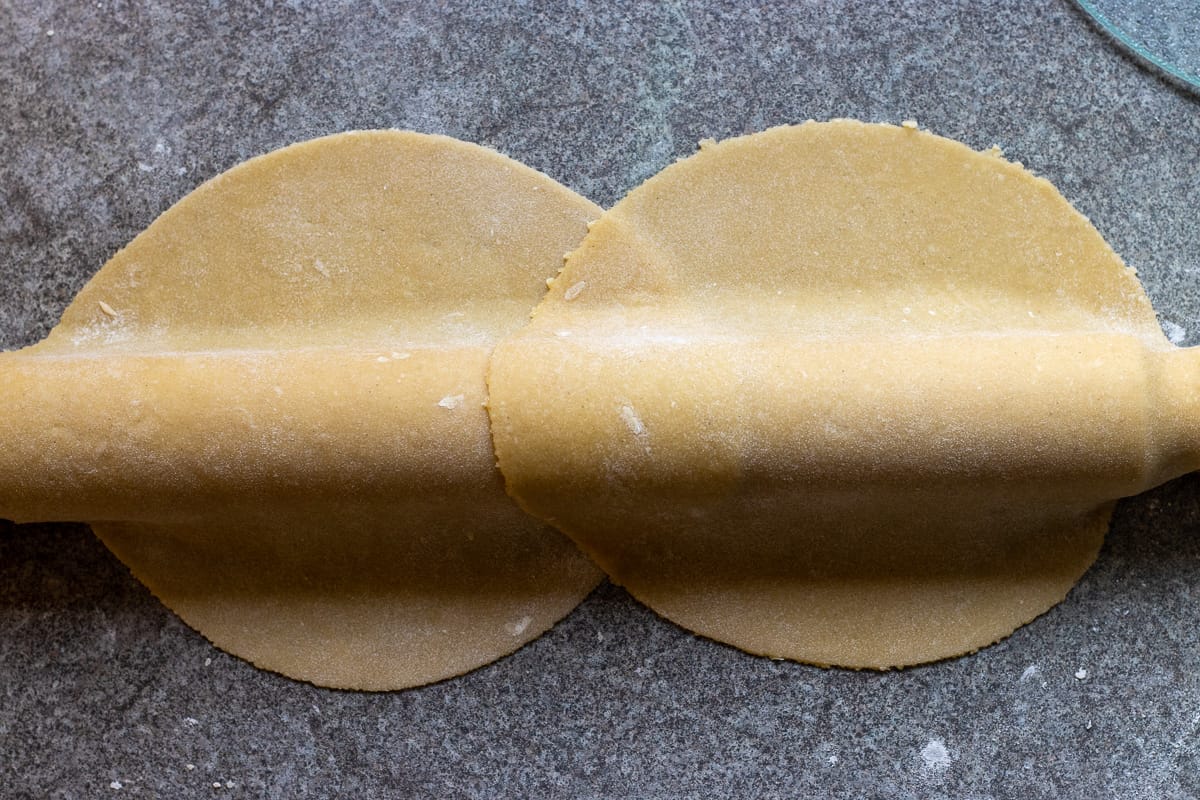
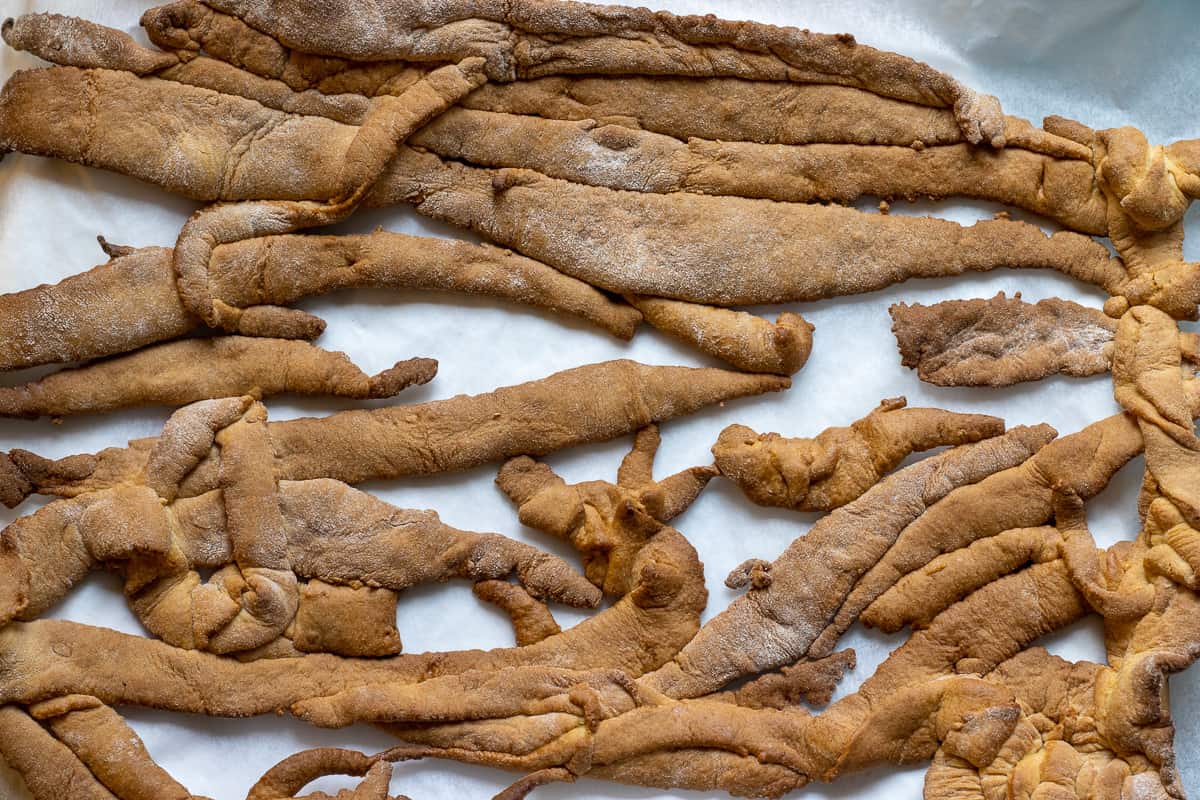
Spread the reserved scraps on a baking sheet and bake for 6 to 8 minutes, or until dry and golden. Let them cool completely, then crush them in a food processor to make fine crumbs.
Prepare the Sour Cream Frosting
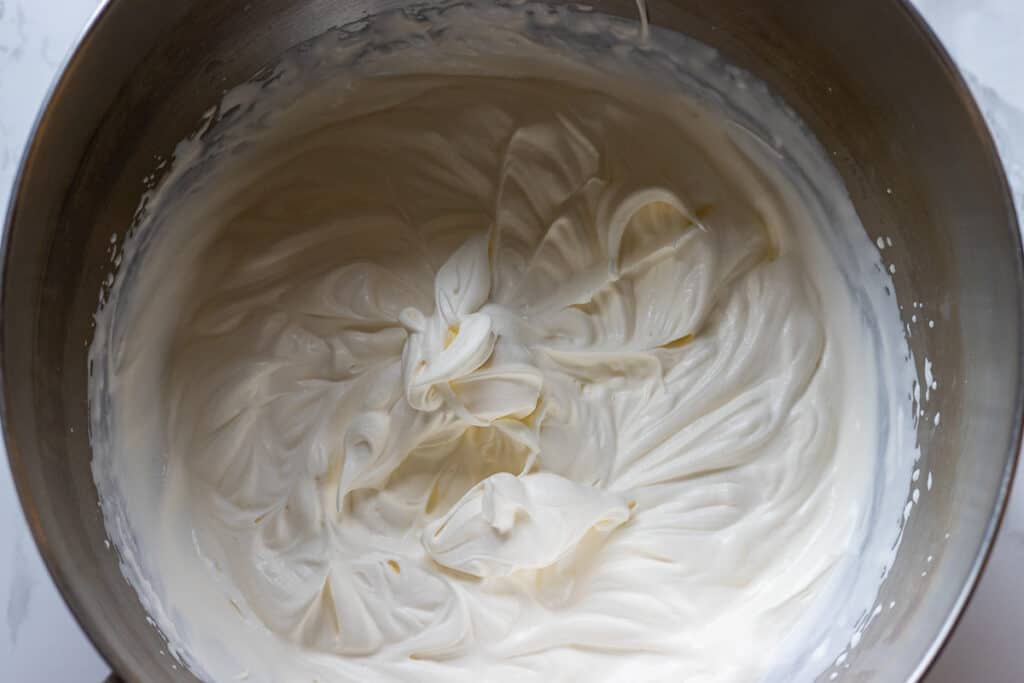
Place the double cream (heavy cream) in a large bowl and beat it until it forms stiff peaks. In a separate bowl, whisk the sour cream, powdered sugar (icing sugar), and vanilla until smooth.
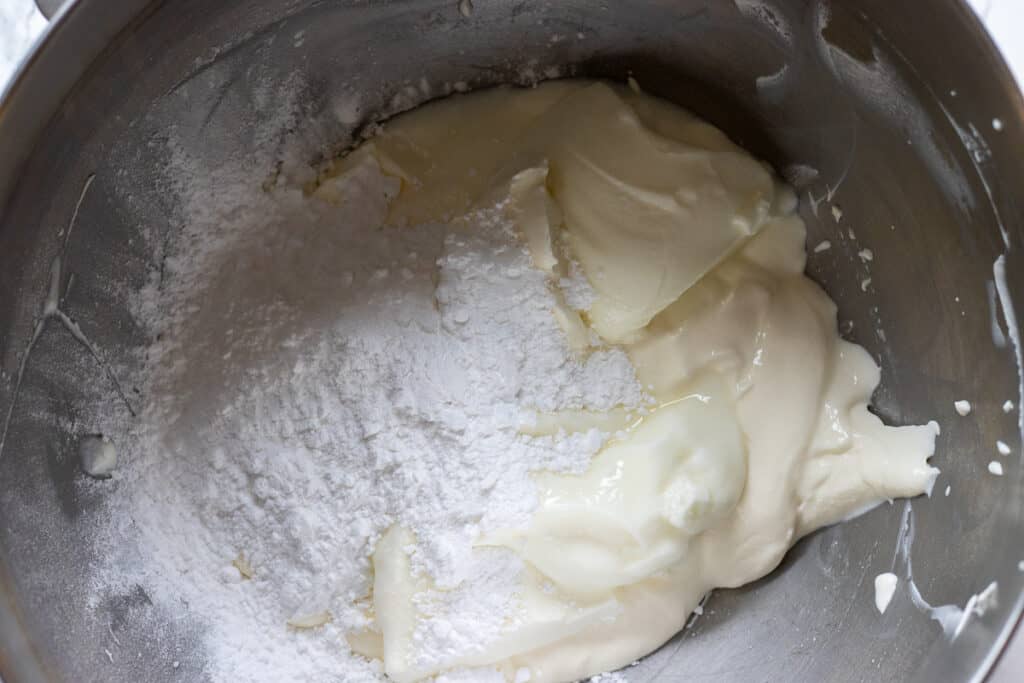
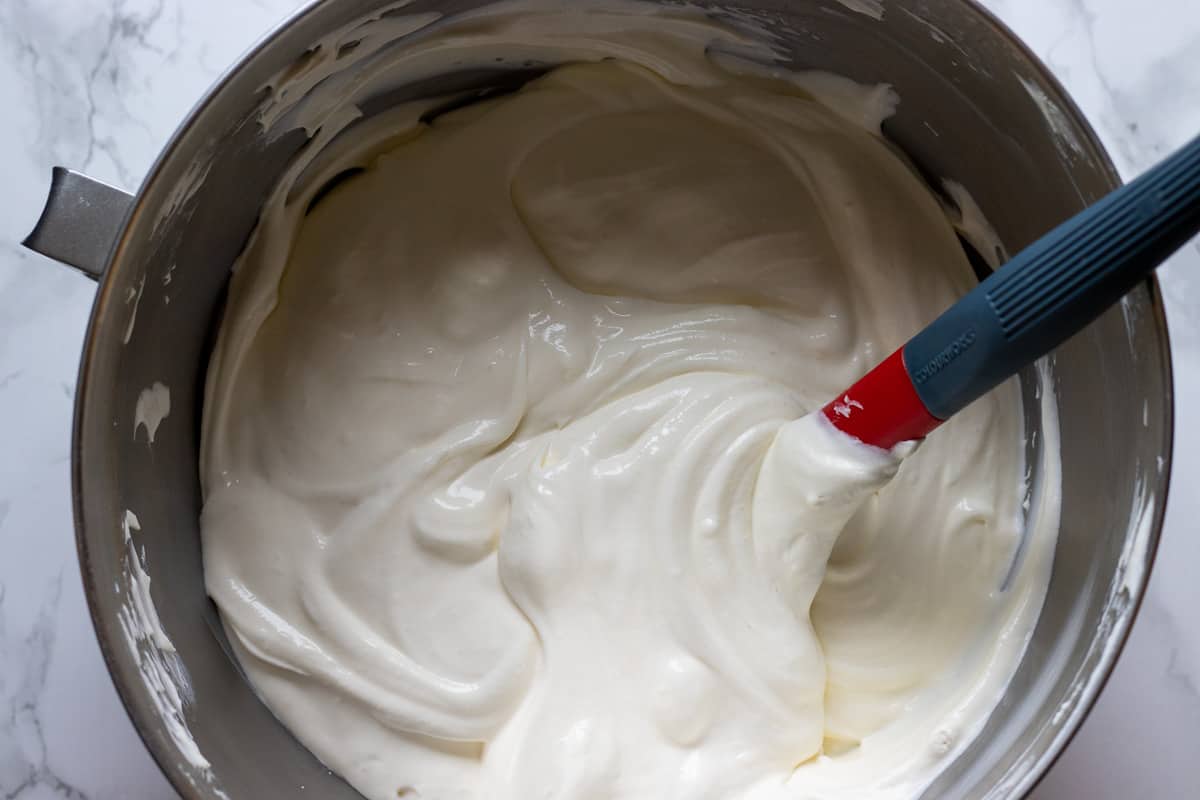
Gently fold the whipped cream into the sour cream mixture. Try not to knock out too much air. The frosting should be smooth, light, and easy to spread.
Assemble the Cake
Place one cake layer on a serving plate or cake board. Spread a layer of frosting over the top, using about 2 large spoonfuls. Add the next cake layer and press it down very gently. Continue layering the cake and frosting until all 8 layers are used.
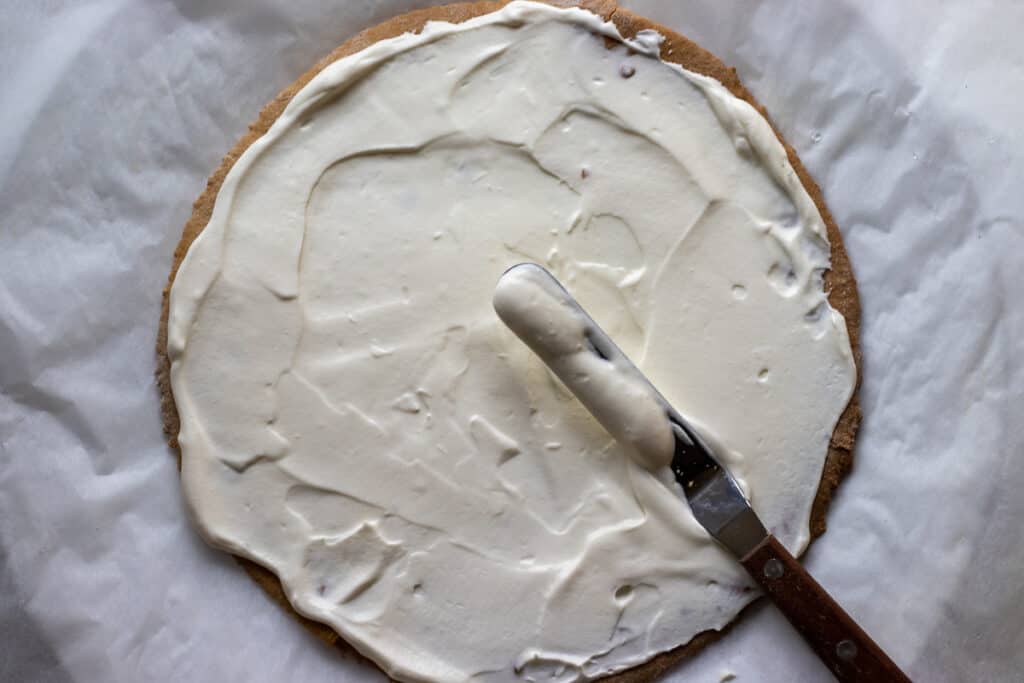
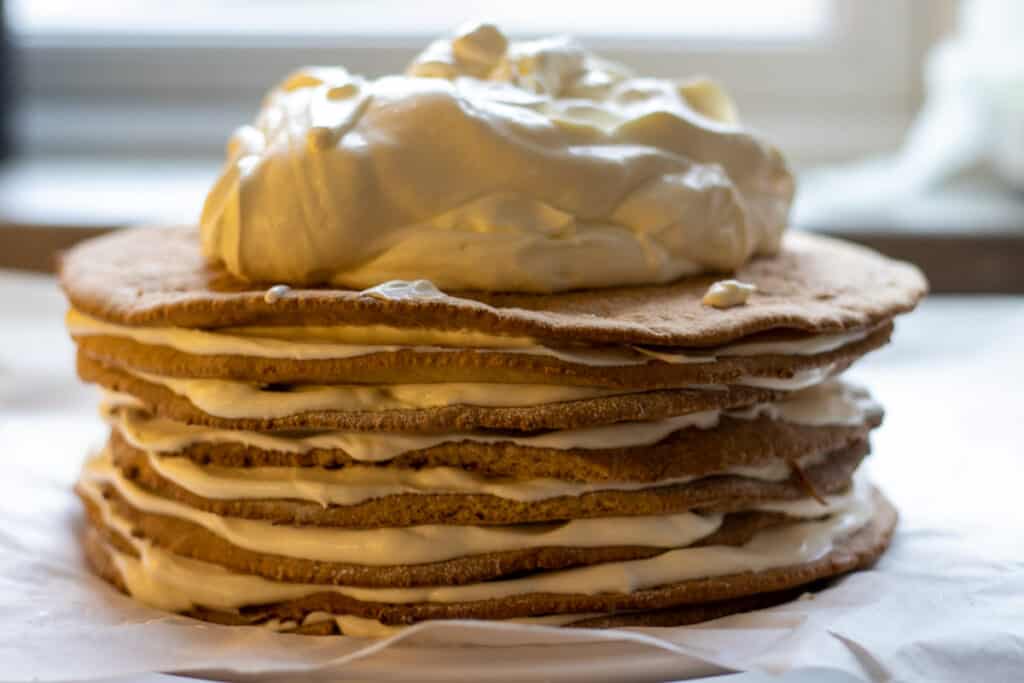
Spread the remaining frosting over the top and sides of the cake. It does not need to look perfect because the crumbs will cover it.
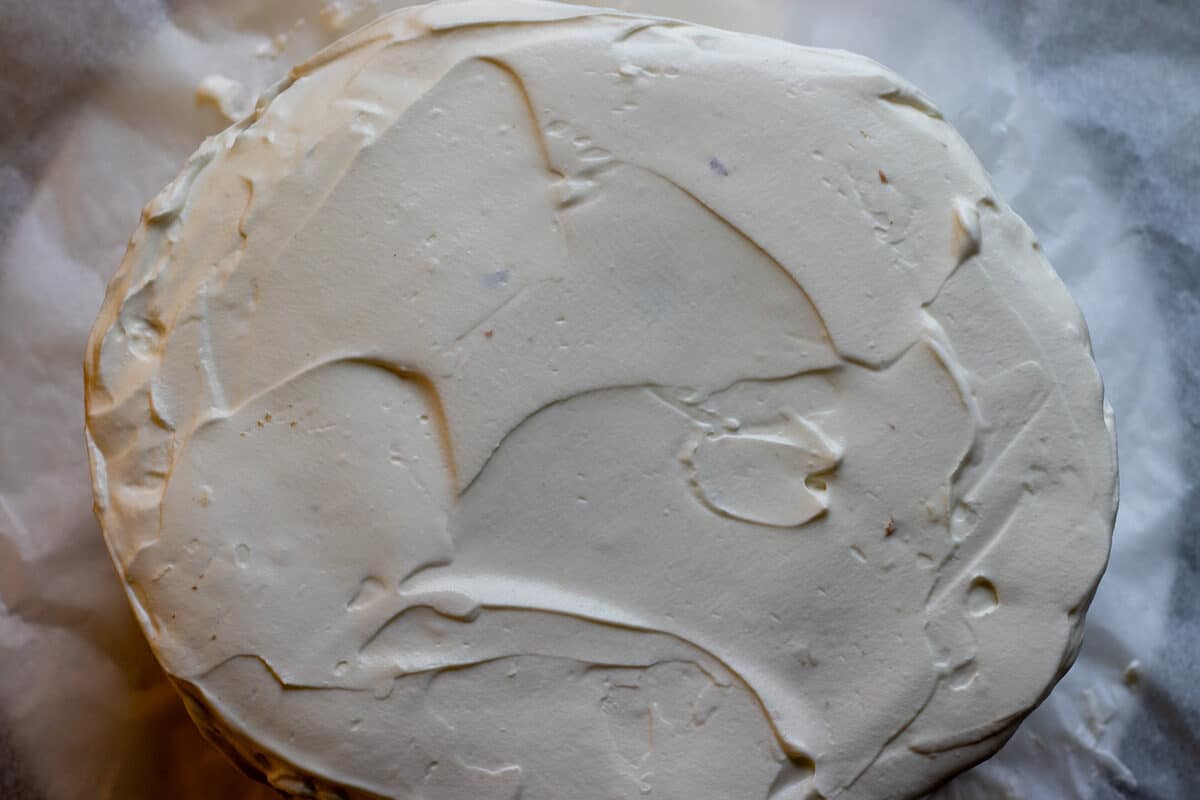
Cover the top and sides with the crushed cake crumbs. Press them gently with your hands or a spatula.
Cover the cake loosely with plastic wrap and refrigerate overnight. This resting time is important. The frosting softens the honey layers and gives the cake its proper texture.
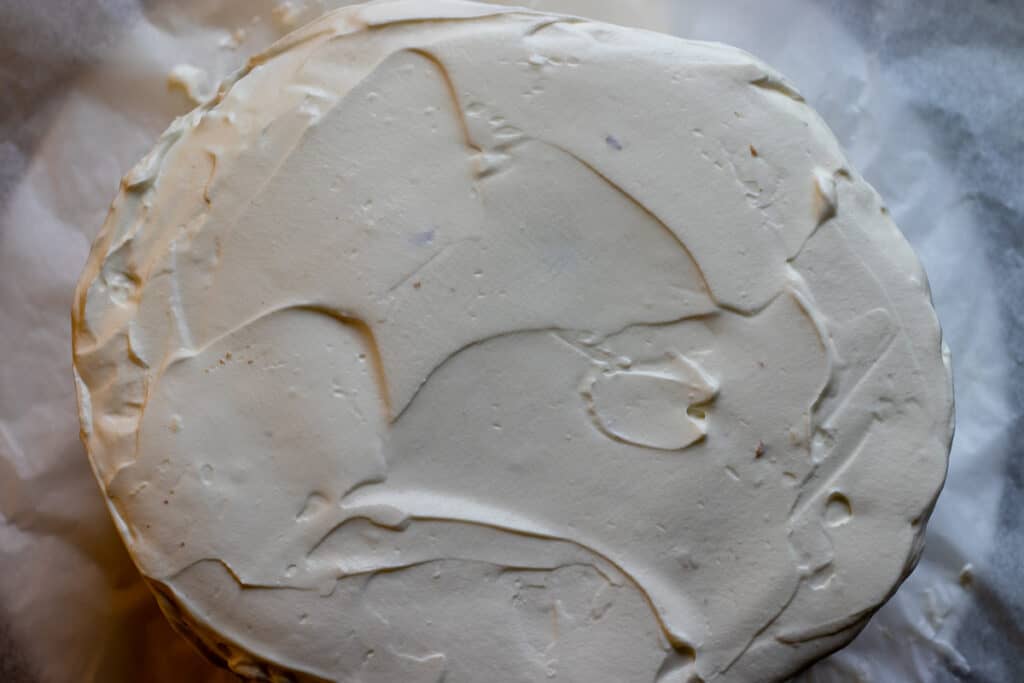
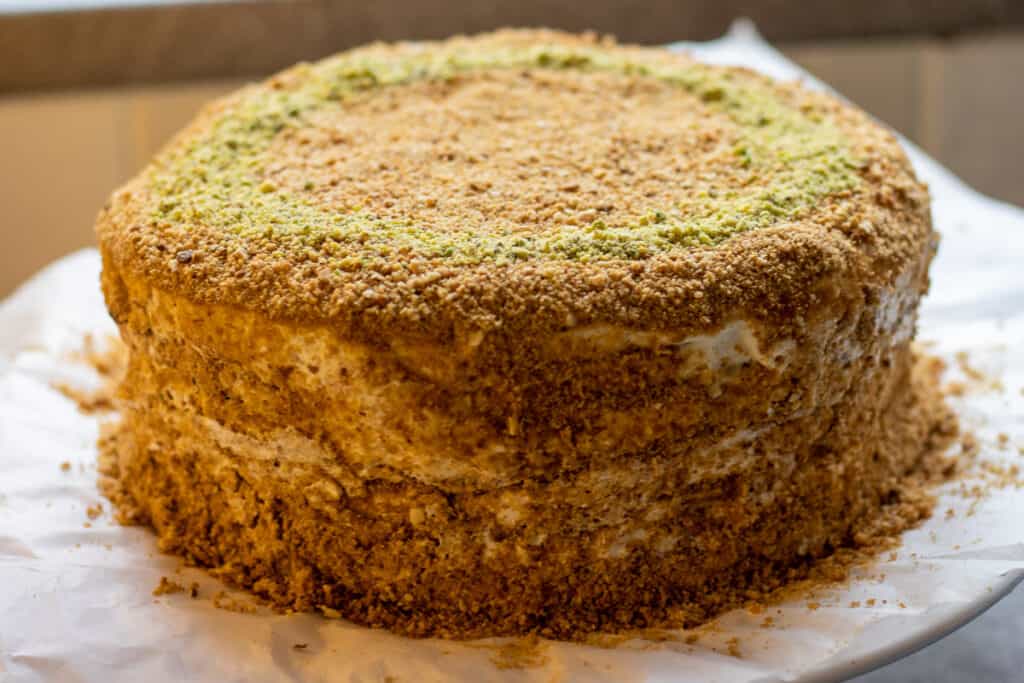
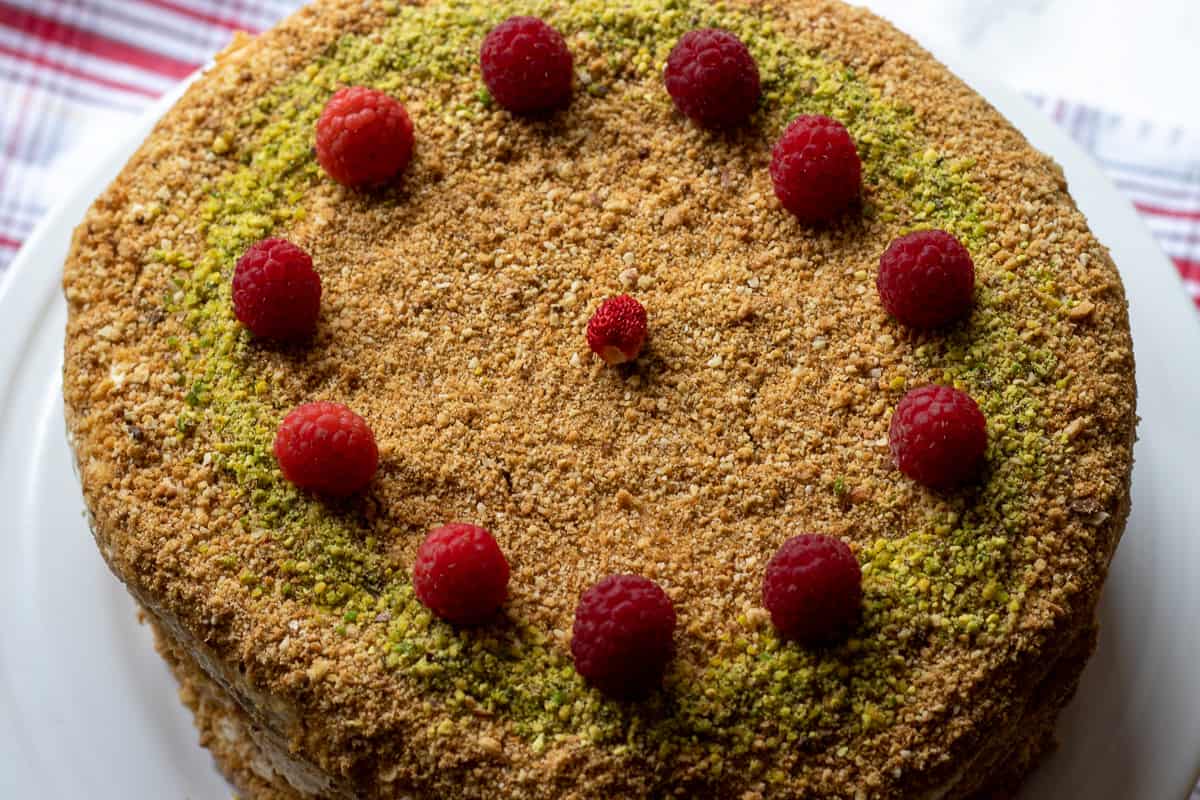
Before serving, decorate with chopped pistachios and berries if you like. Let the cake sit at room temperature for 15 to 20 minutes before slicing.
Recipe Tips From the Chef
- Let the honey mixture cool slightly before adding the eggs. It should be warm, not hot.
- Add the eggs slowly and whisk constantly to avoid scrambled eggs.
- Do not add too much extra flour. The dough should be soft and slightly sticky.
- Roll the next cake layer while the previous one is baking to save time.
- Bake the layers until golden, not dark. Overbaked layers can taste bitter and take longer to soften.
- Chill the cake overnight before serving. The layers need time to absorb the frosting.
- Use a sharp knife and wipe it between slices for cleaner pieces.
Make Ahead
Medovik is a great make-ahead cake because it needs time to rest before serving. You can bake the cake layers up to 5 days ahead. Let them cool completely, then wrap them well in plastic wrap and keep them at room temperature in a dry place.
You can also make the whole cake 1 to 2 days ahead. In fact, it tastes better after resting overnight in the refrigerator. The layers soften, the honey flavor settles, and the frosting becomes part of the cake instead of sitting between dry layers.
Add berries or pistachios just before serving so they look fresh.
Storage
Store leftover Medovik in an airtight container in the refrigerator for up to 5 days. The cake stays soft, but the crumb coating may become a little darker as it sits.
Let the slices sit at room temperature for 15 to 20 minutes before serving. This softens the frosting and gives the cake a better texture.
You can freeze leftover slices for up to 5 months. Wrap each slice tightly in plastic wrap, then place them in a freezer bag or airtight container. Thaw in the refrigerator overnight before serving.
Serving Ideas
Medovik is best served chilled but not straight from the refrigerator. Let it sit for a short time before slicing so the frosting softens slightly.
It is lovely with a glass of Turkish Tea or coffee and works well as a birthday cake, Christmas dessert, or make-ahead cake for guests. Since it is already layered and covered with crumbs, it does not need much decoration.
A few berries, chopped pistachios, or a light dusting of powdered sugar are enough if you want to make it look a little more finished.
Recipe FAQs
The honey mixture was probably too hot, or the eggs were added too quickly. Let the mixture cool for a few minutes, then add the eggs slowly while whisking constantly.
The dough should be slightly sticky. If it is too wet to handle, let it rest for a few minutes before rolling. Use a little flour on the surface and rolling pin, but avoid adding too much flour to the dough.
Yes, you can use other sweeteners such as agave syrup or maple syrup as a substitute for honey.
However, the taste and texture of the cake may be slightly different.
Related Recipes
For more scrumptious holiday dessert recipes why not try:
Did you make this recipe? Please let me know how it turned out! Leave a comment below and tag @cookingorgeous on Instagram and hashtag it #cookingorgeous.
I hope you enjoy the process of making this iconic Medovik - Russian Honey Cake as much as you enjoy eating it! 🙂
Want to Save This Recipe?
Enter your email & I'll send it to your inbox. Plus, get great new recipes from me every week!
By submitting this form, you consent to receive emails from Cooking Gorgeous
Medovik Russian Honey Cake
Ingredients
For the Honey Cake
- ¼ cup honey (90 grams)
- ⅔ cup caster sugar (135 grams)
- 5 tablespoon unsalted butter (70 grams/2 ½ oz)
- 3 large eggs (at room temperature)
- 1 teaspoon baking soda
- 3 ¾ cups all purpose flour (450 grams)
- 1 teaspoon vanilla paste
For the Frosting
- 2 cups sour cream (500 ml)
- 1 cup icing sugar (100 grams)
- 2 cups heavy cream or whipping cream (500 ml)
- berries and ground pistachio (for decorating)
Instructions
Making the Cake Layers
- Preheat the oven to 355°F / 180°C and line large baking sheets with parchment paper.
- Place the honey, sugar, and butter in a large saucepan over low heat. Let them melt together, stirring now and again, for about 5 minutes.
- Remove the pan from the heat and let the mixture cool slightly. Add the eggs a little at a time, whisking constantly so they blend in without cooking.
- Stir in the vanilla and baking soda. Add the sifted flour and fold it in with a spatula until you have a soft, slightly sticky dough.
- Divide the dough into 8 equal pieces.
- Roll one piece of dough on a lightly floured surface into a 9-inch / 23 cm circle.
- Use the base of a cake pan or a plate as a guide and trim the edges with a small knife. Keep the scraps for the crumb coating.
- Repeat with a second dough ball, then transfer both dough circles to lined baking sheets.
- Bake for 4 to 5 minutes, or until golden.
- Transfer the baked layers to a wire rack and let them cool completely.
- Repeat with the remaining dough pieces. Roll the next layer while the previous one is baking to save time.
- Spread the reserved scraps on a baking sheet and bake for 6 to 8 minutes, or until dry and golden.
- Let the scraps cool completely, then crush them in a food processor to make fine crumbs.
Preparing the Frosting
- Place the heavy cream (double cream) in a large bowl and beat until stiff peaks form.
- In a separate bowl, whisk the sour cream, powdered sugar (icing sugar), and vanilla until smooth.
- Gently fold the whipped cream into the sour cream mixture until combined.
Assembling the Cake
- Place a layer of pastry on a serving plate and spread 2 large spoonfuls of frosting evenly. Gently press while placing another layer of pastry on top.
- Repeat the same with the remaining pastries and frost the top and sides with the remaining frosting.
- Place the baked dough scraps in a food processor and blitz them into fine crumbs.
- Decorate the top and sides of the cake with crushed crumbs, cover with cling film and refrigerate overnight before serving.
- Garnish with chopped pistachio nuts and some red berries just before serving.
- Let the cake sit at room temperature for 15 to 20 minutes before slicing.
Video
Notes
- Bake 2 cake layers at a time if your baking sheets and oven space allow.
- Roll the next 2 layers while the first ones are baking to save time.
- Let the honey mixture cool slightly before adding the eggs.
- Add the eggs slowly and whisk constantly to avoid scrambling them.
- The dough should be soft and slightly sticky. Do not add too much extra flour.
- The cake layers will be crisp after baking. They soften after resting overnight with the frosting.
- You can bake the cake layers up to 5 days ahead and keep them wrapped in plastic wrap.
- Add roasted nuts to the cake crumbs if you want more texture.
- Store leftovers in an airtight container in the refrigerator for up to 5 days.
- Freeze individual slices for up to 5 months.

Sonia says
I absolutely love this recipe and will definitely be making it soon!!!